ADIS 164xx SentiConnect
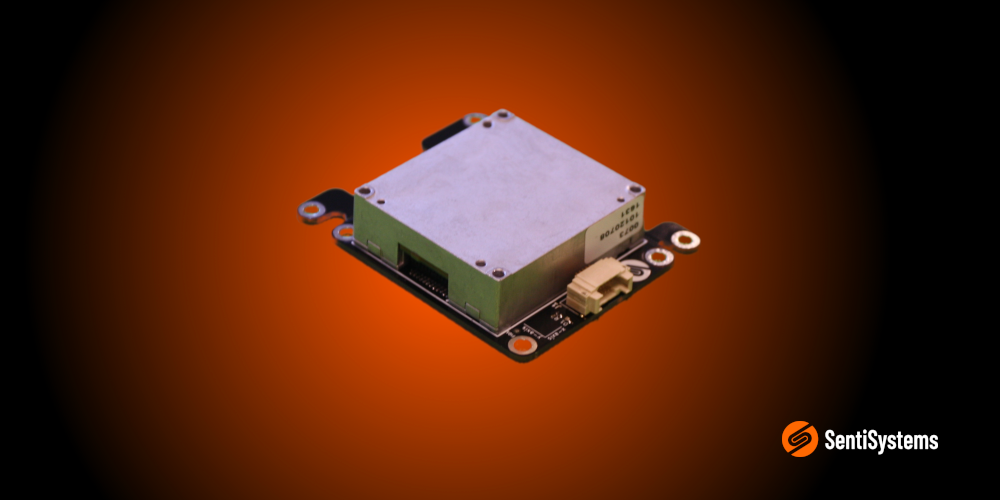
The SentiSystems ADIS 164xx SentiConnect board interfaces the ADIS 164xx series directly with the SentiBoard. The default configuration enables SPI communication, hence should be used with one of the free SPI ports on the SentiBoard.
Tip
Parsing of ADIS 164xx IMU data is available in SentiUtils through the adis164xx config option. See SentiUtils Configuration for more details.
SentiBoard Configuration
To use the ADIS 164xx IMUs with the SentiBoard, you can use the following configuration on the SentiBoard:
c spi1/spi2
Sensor
  [e]  enabled                         true
  [p]  powered                         true
  [s]  sync_id                         [ 0x6A 0x40 ]
  [es] end_sync_id
  [l]  length                          32
  [b]  baudrate                        10000000
  [m]  min delay between requests [us] 2
  [i]  interrupt                       rising
  [w]  warn rates                      [0  65535]
  [r]  polling                         IC
  [d]  poll data:
        [ 00 7E 00 0E 00 40 00 42
          00 44 00 46 00 48 00 4A
          00 4C 00 4E 00 50 00 52
          00 54 00 56 00 08 00 0A
          00 00 00 00 ]
  [?]  re-print this
  [x]  exit
Info
The SentiBoard synchronizes the ADIS 164xx by capturing the ADIS' IRQ (Interrupt Request) signal (interrupt: rising), and using this signal as a trigger to poll the ADIS for new sensor data. This is configured through setting "polling: IC".
The poll string that is used in this example polls the following registers:
- 0x7E 0x0E = Production ID - this is the IMU version ID (e.g 16490 or 16495 etc)
- 0x40 0x42 0x44 0x46 0x48 0x4A = Delta angles X,Y,Z axis
- 0x4C 0x4E 0x50 0x52 0x54 0x57 = Delta velocities, X,Y,Z axis
- 0x08 0x0A = Status words For a total of 32 bytes (length: 32)
Since we are polling the Production ID number in the beginning of each measurement read-out, we can use this number as a start sequence for each packet, configured through sync_id 0x6A 0x40, which in this case is hexadecimal for 16490 (0x406A due to endianess)
The series of 00's at the end is because SPI is synchronous communication, and the value of the register being polled is not communicated until the following 16 bit word cycle - meaning we need to pad the poll string to receive the final 16 bit word from the ADIS IMU.
ADIS 164xx Configuration
These commands assume that the ADIS is connected to the SPI_1 port and are sent through the CONFIG port /dev/ttySentiboard00. Any VT100 (or VT102) capable terminal should work - on Linux use for example minicom -con -D /dev/ttySentiboard00, on Windows, Tera Term is recommended.
The process can be debugged by sending debug on spi1 which will output the data the ADIS sends after the send command. When doing this, make sure the sensor is disabled (disable spi1) to prevent the Sentiboard from outputting all the data from the ADIS in ASCII to the configure terminal.
Commands are padded with sending two "READ PAGE" commands (0x0000 0000) to ensure that the correct data is outputted if debug is on.
To see the currently loaded command, send the print command to the Sentiboard. All commands should be 2 bytes long.
Configuration of other ADIS-devices should be similar, but with a different rate than 4250 Hz, and maybe different registers.
Communication overview
Communication with the ADIS done with 16-bit commands. Note that when debugging through the Sentiboard, the endianness of the commands are different, meaning that the first and second bytes are swapped. This guide is written from the viewpoint of the Sentiboard, meaning that the commands given here can be used directly on the Sentiboard.
When sending a write command, the first byte is the value you want to store, and the second bit is the address you want to change. When sending a read command, the first byte is ignored (I think) and the second byte is the address to the data you want to read. When sending a read command, the two "associated" bytes are sent as a response (I think, at least for some commands).
Read and write commands are differentiated by the first bit of the address part of the command. So if you want to read the current PAGE, located at 0x00, you send a dummy-byte value (0x00) and the address (0x00), which gives 0x0000. If you want to change the current PAGE to PAGE 3, send the value you want to set (0x03), and the location + the first bit (0x00 | 0x80 = 0x80) which gives 0x0380.
A simple way to test the communication is to read the PROD_ID, located at 0x7E on PAGE 1:
This should give the response:
00 00 6A 40 00 00 00 00 00 00 00 00
Where 0x6A40 -> 0x406A = 16490, as in ADIS 16490
When you are finished debugging, make sure to reset the state of the ADIS and Sentiboard. Switch to PAGE 1, disable debugging on SPI1, and re-enable SPI 1
Saving configuration to system flash
disable spi1
read 0x0380 00000000
send spi1
read 0x0882 0083 00000000
send spi1
read 0x0080 00000000
send spi1
enable spi1
Line-by-line explanation:
- Disable the output and polling of the SPI device
- Read the command to change to PAGE 3 (0x0380) + padding bytes (the read command ignores spaces after "0x")
- Send the command to SPI 1.
- For the ADIS to process the command, the full 16-bit address starting at 0x02 must be set. Thus, to save the configuration set the 3rd bit (0x08) at the address 0x02, and write zeroes to the 0x03 address. 0x 0882 0083
- Send the command
- Reset the PAGE to the default PAGE 0 (0x0080)
- Send the command
- Re-enable the SPI output
Setting the rate
To configure the AIDS 16490 the following procedure can be performed:
Set 250 Hz:
disable spi1
read 0x0380 00000000
send spi1
read 0x108C 008D 0000
send spi1
read 0x0080 00000000
send spi1
enable spi1
Line-by-line explanation:
- Disable the output and polling of the SPI device
- Read the command to change to PAGE 3 (0x0380)
- Send the command to SPI 1.
- The rate is calculated as 4250 / (1 + DEC_RATE), so to change to 250 Hz, the DEC_RATE variable must be set to DEC_RATE = (4250 / 250) - 1 = 16 = 0x10. Hence the registers should be 0x10 to address 0x0C and 0x00 to address 0x0D: 0x108C 008D
- Send the command
- Reset the PAGE to the default PAGE 0 (0x0080)
- Send the command
- Re-enable the spi device
The rate should now (temporarily, until the ADIS is restarted) be set to 250 Hz.
Set 425 Hz:
disable spi1
read 0x0380 00000000
send spi1
read 0x098C 008D 0000
send spi1
read 0x0080 00000000
send spi1
enable spi1
Explanation: Same as 250 Hz, except (4250 / 425) - 1 = 9 = 0x09
Set 10 Hz
To set a low rate, such as 10 Hz, the DEC_RATE will be bigger than 1 byte: (4250 / 10) - 1 = 425 - 1 = 0x01A8 Thus, both the 0x0C and the 0xD registers must be set:
disable spi1
read 0x0380 0000 0000
send spi1
read 0xA88C 018D 0000
send spi1
read 0x0080 0000 0000
send spi1
enable spi1
Read the current DEC_RATE
disable spi1
read 0x0380 0000 0000
send spi1
debug on spi1
read 0x000C 0000 0000
send spi1

read 0x0080 0000 0000
debug off spi1
send spi1
enable spi1
The DEC_RATE is printed in a mysterious format:
The rate is given by this message: 03 00 A8 01 03 00 03 00 03 00 03 00:
The first two bytes show the given PAGE (= 3) and the two next bytes (A8 01) gives the DEC RATE, which, converted big endian, gives 0x01 A8 = 424. An then by calculating from the formula: 4250 / (424 + 1) = 10 Hz rate.